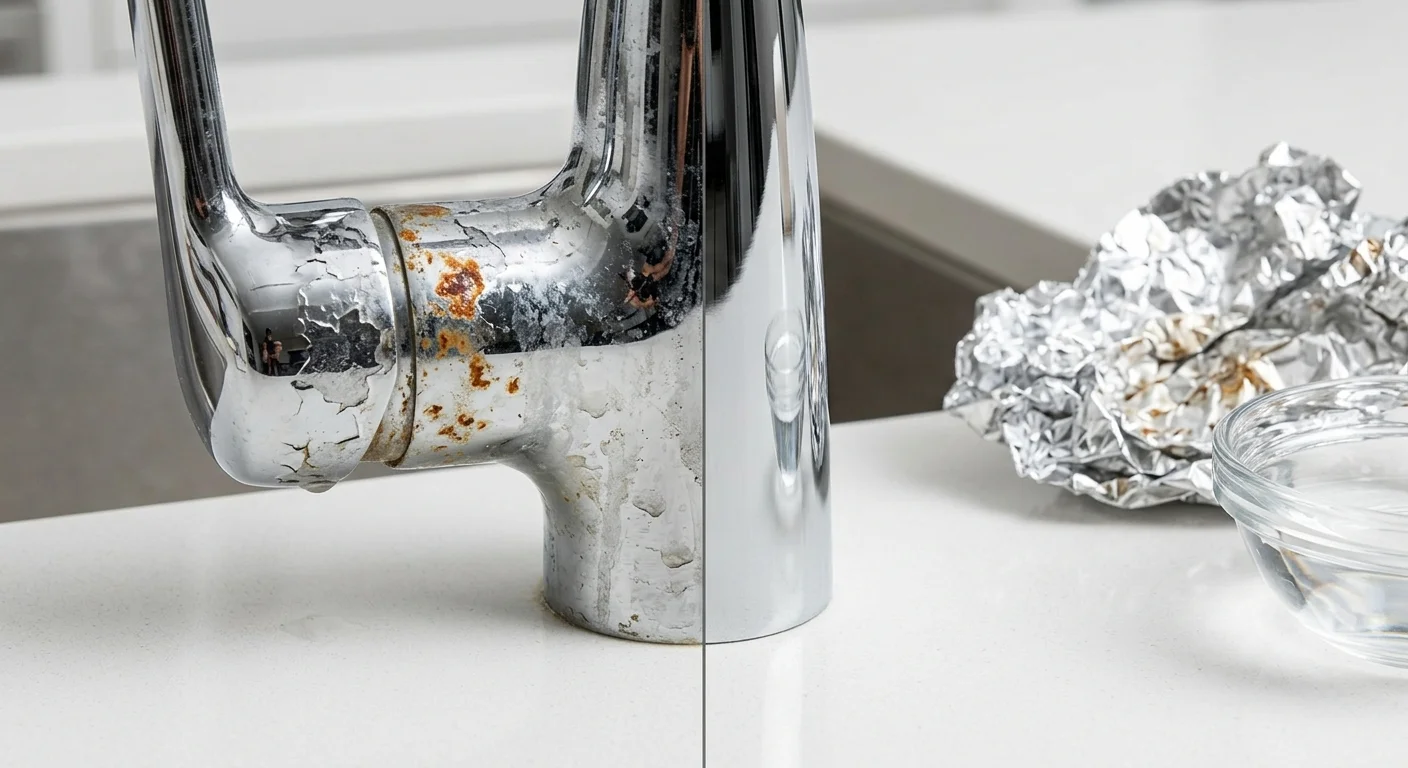
Removing rust before painting metal is not optional.
If loose rust, scale, grease, moisture, or unstable corrosion remains under the coating, the new paint may look good at first but can later blister, peel, or allow corrosion to return underneath.
The right preparation method depends mainly on how severe the rust is, what type of metal you are working with, how much surface area you need to clean, and what finish the new coating requires.
For light rust, sandpaper or a wire brush may be enough.
For moderate corrosion, powered sanding, chemical rust removers, or other mechanical methods become more practical.
For larger industrial parts, repeated maintenance, or surfaces where you want controlled, non-contact rust removal, laser rust removal can also be a strong option.
The basic process is simple:
Assess the rust → Remove it completely → Clean and degrease → Dry the metal → Apply the correct primer → Paint
The most important part is matching the removal method to the condition of the metal instead of using the most aggressive tool available.
1. Check How Bad the Rust Is Before You Start
Before grabbing a grinder or chemical remover, inspect the metal.
You do not need a laboratory corrosion rating for most painting projects. What matters is whether the problem is only on the surface or whether corrosion has already damaged the metal itself.
A practical way to classify it is:
Rust Condition | What It Looks Like | What It Usually Needs |
|---|---|---|
Light surface rust | Orange discoloration, small spots, no serious pitting | Sandpaper, abrasive pad, wire brush |
Moderate rust | Larger patches, light flaking, visible shallow pits | Powered sanding, wire wheel, chemical remover |
Heavy rust | Thick scale, peeling layers, deeper pitting | Grinding, blasting, laser cleaning, or professional treatment |
Severe corrosion | Deep pits, holes, thinning or structural damage | Repair or replacement before painting |
The original guide correctly emphasizes that light surface rust and structurally damaged metal should not be treated the same way.
Check Whether the Metal Is Still Structurally Sound
This matters especially for:
Railings.
Frames.
Vehicle parts.
Brackets.
Structural steel.
Outdoor equipment.
If corrosion has created holes, severe thinning, cracking, or major section loss, removing the visible rust does not restore the original strength.
In that situation, painting is not the first problem to solve.
The damaged section may need to be repaired, reinforced, or replaced.
Paint protects sound metal. It does not repair metal that corrosion has already destroyed.
Once you know the metal is still usable, choose the least aggressive method that can remove the rust effectively.
2. Choose the Right Rust Removal Method
There is no single best rust-removal method.
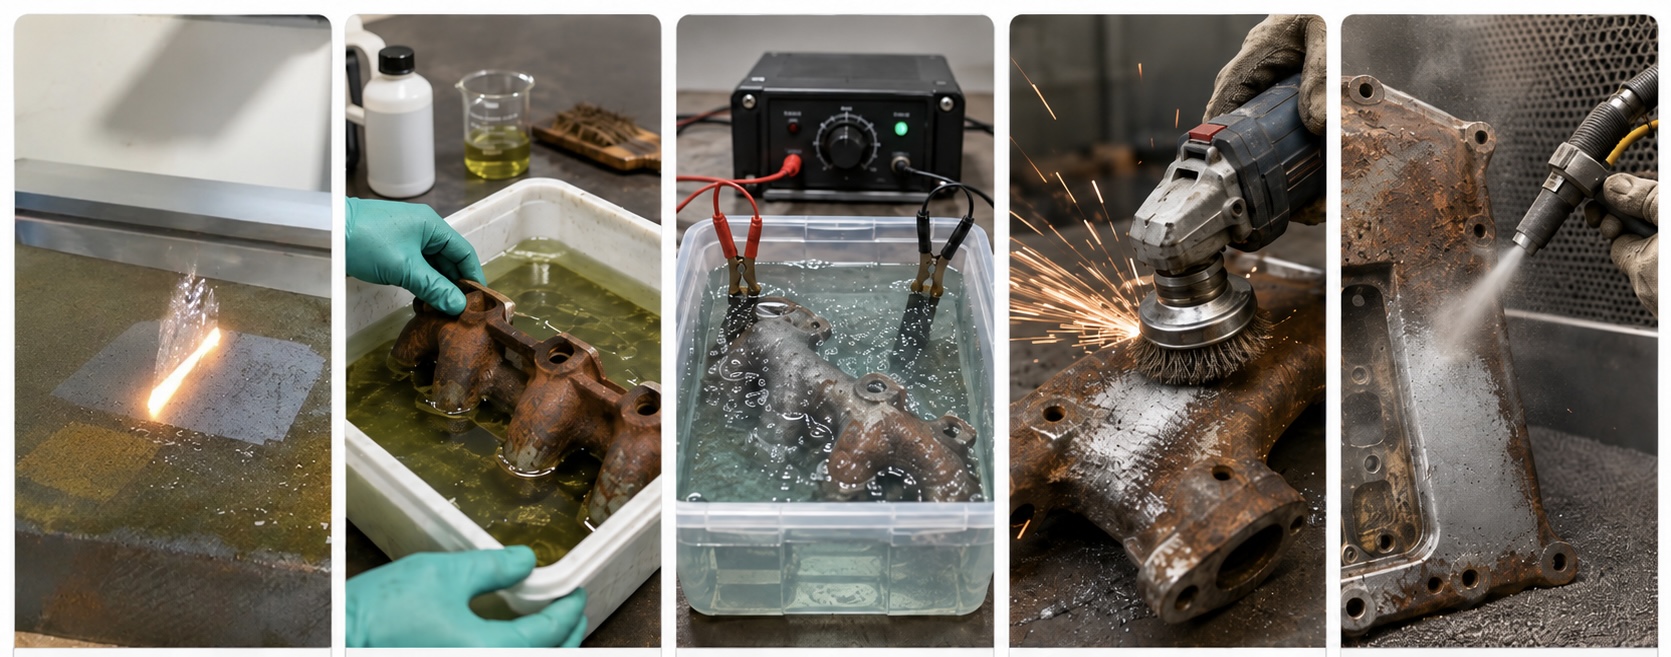
Sandpaper, wire brushes, grinding, chemical removers, electrolysis, abrasive blasting, and laser cleaning all have a place.
The best option depends on:
Rust severity + surface area + metal thickness + geometry + required finish
Sandpaper and Abrasive Pads: Best for Light Rust
For small areas of light surface rust, hand sanding is usually the simplest solution.
Start with an abrasive aggressive enough to remove the oxidation, then move to a finer grit if you need a smoother surface before priming.
This works well for:
Small tools.
Furniture frames.
Metal doors.
Railings.
Small automotive areas.
Lightly rusted steel panels.
The goal is not necessarily to polish the metal.
You need to remove unstable corrosion and create a clean, solid surface that the primer can bond to.
If you can still see or feel loose rust after sanding, keep preparing the surface.
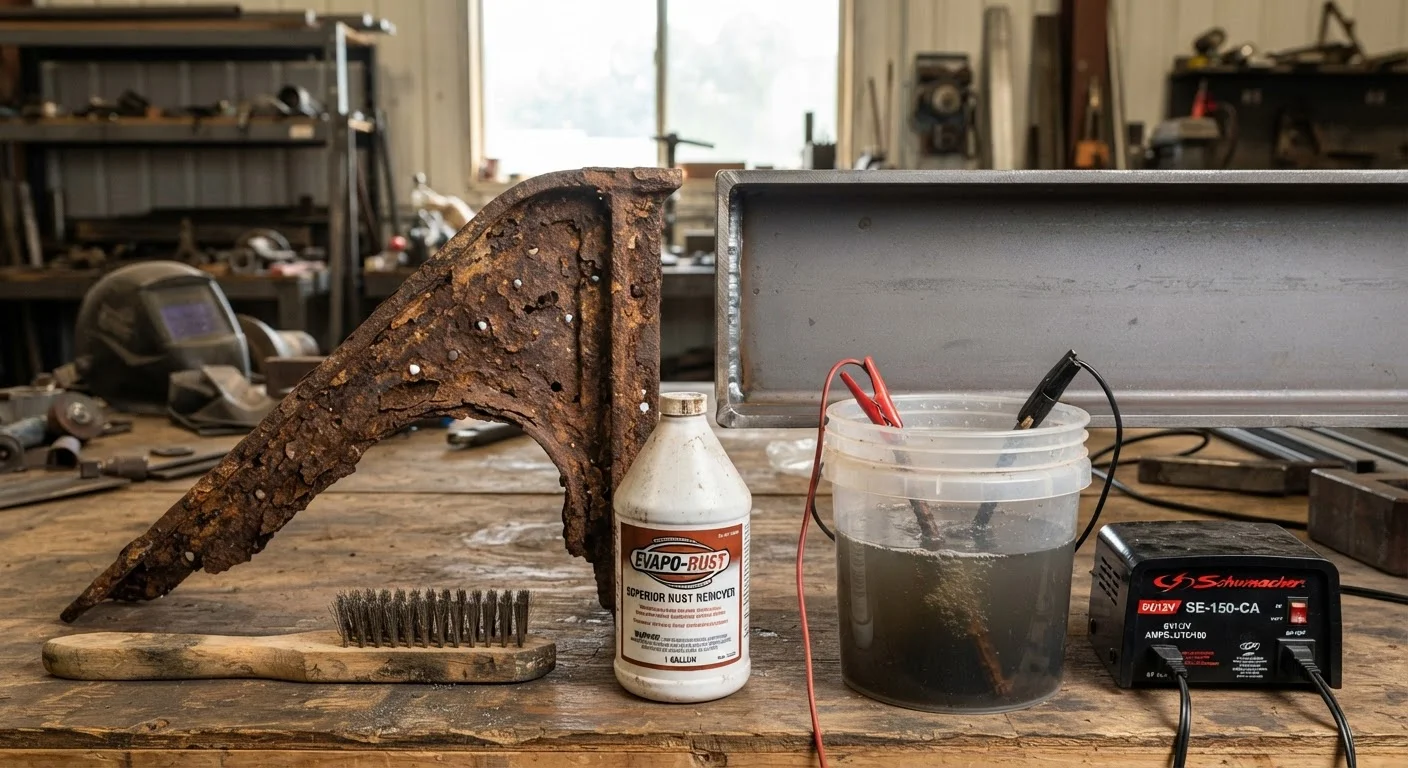
Wire Brush or Wire Wheel: Best for Loose and Flaking Rust
A hand wire brush works well on irregular surfaces, corners, welds, and areas that are difficult to sand.
For larger areas, a drill-mounted or grinder-mounted wire wheel speeds up the process considerably.
Wire brushing is particularly useful for removing:
Loose rust.
Flaking paint.
Scale.
Corrosion around welds.
Rust on gates, railings, and heavy steel.
But be careful on thin sheet metal.
Aggressive brushing or grinding can remove more base metal than necessary or create visible scratches that later show through the paint.
Grinding and Abrasive Blasting: Best for Heavy Rust
When rust has developed into thick scale, hand tools become slow.
Grinding and abrasive blasting remove corrosion much more aggressively.
They work particularly well on:
Heavy steel structures.
Old machinery.
Large frames.
Industrial equipment.
Thick metal components.
Abrasive blasting also creates a surface profile that can be useful for certain industrial coating systems.
This is important because some primers and protective coatings require a specific surface profile for proper adhesion.
The trade-off is that blasting creates abrasive media, dust, cleanup requirements, and can alter the original surface.
Grinding also requires careful control to avoid thinning or gouging the metal.
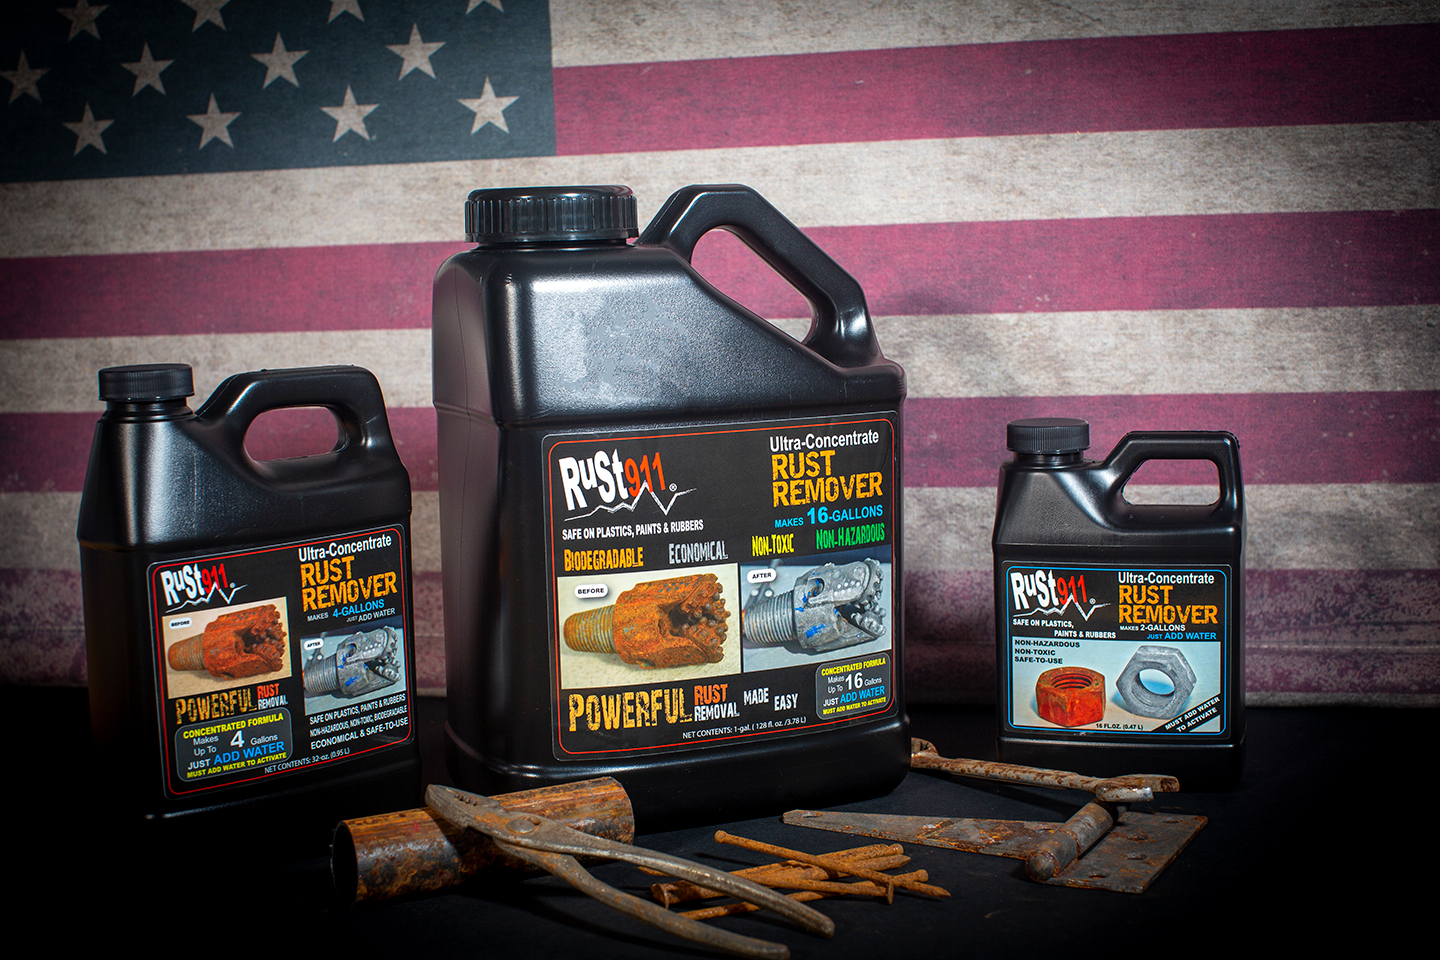
Chemical Rust Removers: Useful for Complex Shapes
Chemical rust removers dissolve or convert corrosion rather than physically grinding it away.
They are particularly convenient for:
Bolts.
Threads.
Hinges.
Small brackets.
Recessed areas.
Complex metal shapes.
Components that can be soaked.
The original article correctly identifies chemical treatment as useful where brushes and abrasives have difficulty reaching.
The main disadvantages are dwell time, chemical handling, rinsing or neutralization requirements depending on the product, and the need to ensure no residue remains before painting.
Always follow the manufacturer's instructions.
Do not assume every rust remover is compatible with every substrate or primer.
Electrolysis: Good for Restoration Projects
Electrolysis can be useful for removable steel or iron parts where preserving original detail matters more than speed.
Instead of aggressively abrading the part, the process uses an electrical reaction to separate corrosion from the surface.
That makes it attractive for:
Old tools.
Vintage hardware.
Mechanical components.
Restoration projects.
Detailed cast parts.
Its biggest limitation is practicality.
The part normally has to fit into a suitable treatment setup, and the process can take considerably longer than mechanical cleaning.
For a fixed railing, vehicle body, industrial structure, or large installed component, other methods usually make more sense.
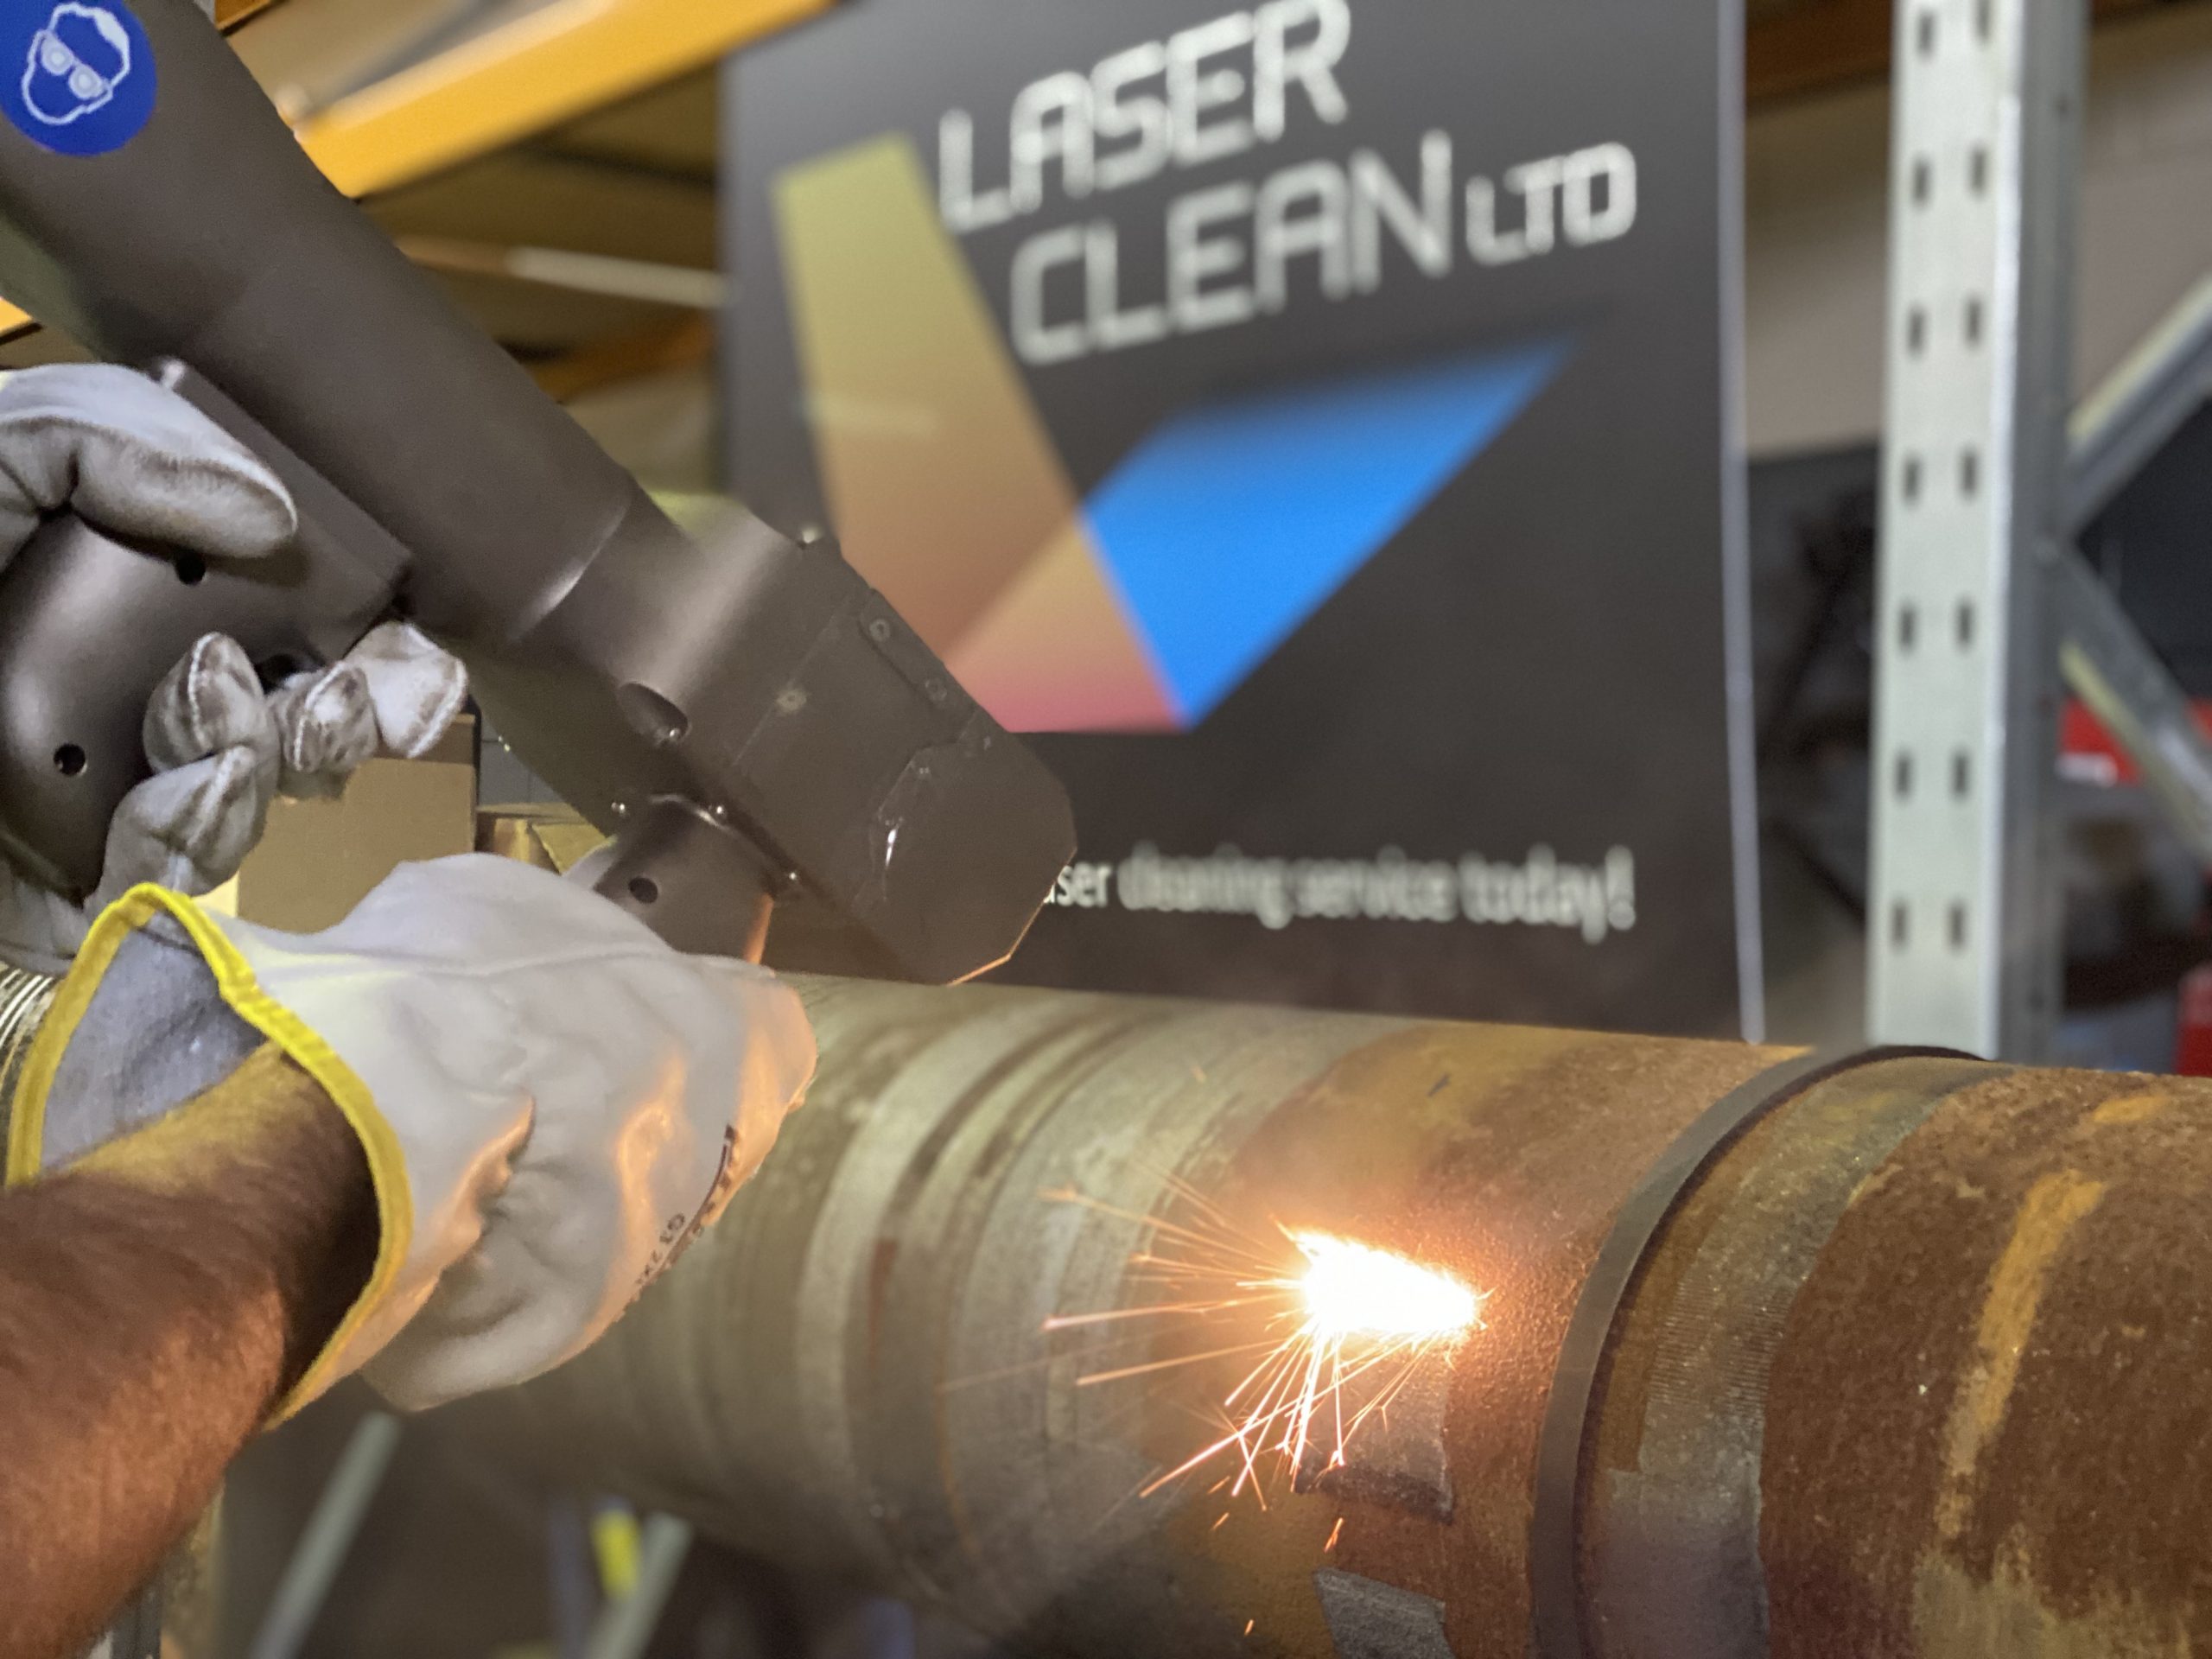
Laser Cleaning: Best for Controlled, Repeatable Rust Removal
For professional workshops and industrial users, laser cleaning for metal preparation adds another option.
Instead of using abrasive media or chemical remover, the laser directs controlled energy at the corrosion layer.
When the parameters are properly matched to the application, rust and surface contamination can be removed while limiting unnecessary mechanical contact with the underlying metal.
That makes laser cleaning particularly useful for:
Weld preparation.
Automotive restoration.
Molds and tooling.
Industrial maintenance.
Machinery.
Precision metal parts.
Localized rust removal.
Repeated production work.
Surfaces where abrasive residue is undesirable.
One important advantage is control.
The operator can clean a specific corroded area without necessarily stripping a much larger surrounding surface.
A laser cleaning machine for rust removal can therefore be particularly attractive when the same types of metal parts need to be prepared repeatedly.
However, laser cleaning is not automatically the best method for every paint-preparation job.
The equipment investment is much higher than buying sandpaper or chemical remover.
Laser systems also require proper operator training, laser safety controls, and fume extraction because the removed rust, paint, and contamination can become airborne particles and fumes.
There is another important consideration:
Surface profile.
Laser cleaning can produce a clean metal surface, but if your coating specification requires a particular abrasive anchor profile, blasting or an additional preparation step may still be necessary.
That is why industrial users should choose the preparation method according to the coating specification—not simply according to which technology removes rust fastest.

Quick Method Comparison
Method | Best For | Main Advantage | Main Limitation |
|---|---|---|---|
Sandpaper / abrasive pad | Light rust, small areas | Cheap and simple | Labor-intensive on large areas |
Wire brush / wire wheel | Loose rust, welds, irregular surfaces | Fast and accessible | Can scratch or alter thin metal |
Grinding | Heavy corrosion on strong metal | Very aggressive removal | Can remove base metal |
Abrasive blasting | Large, heavily rusted steel | Fast + creates coating profile | Media, dust, cleanup |
Chemical remover | Threads, cavities, complex shapes | Reaches difficult geometry | Chemical handling and cleanup |
Electrolysis | Detailed removable parts | Gentle on original detail | Slow and impractical for large fixed objects |
Laser cleaning | Precision or repeated professional work | Controlled, non-contact process | Higher equipment cost and safety requirements |
For home DIY work, sanding and wire brushing will solve many common rust problems.
For large industrial or repeated applications, industrial laser cleaning becomes more relevant because productivity, repeatability, cleanup, and surface control begin to matter much more.
3. Clean, Dry, and Prime the Metal After Rust Removal
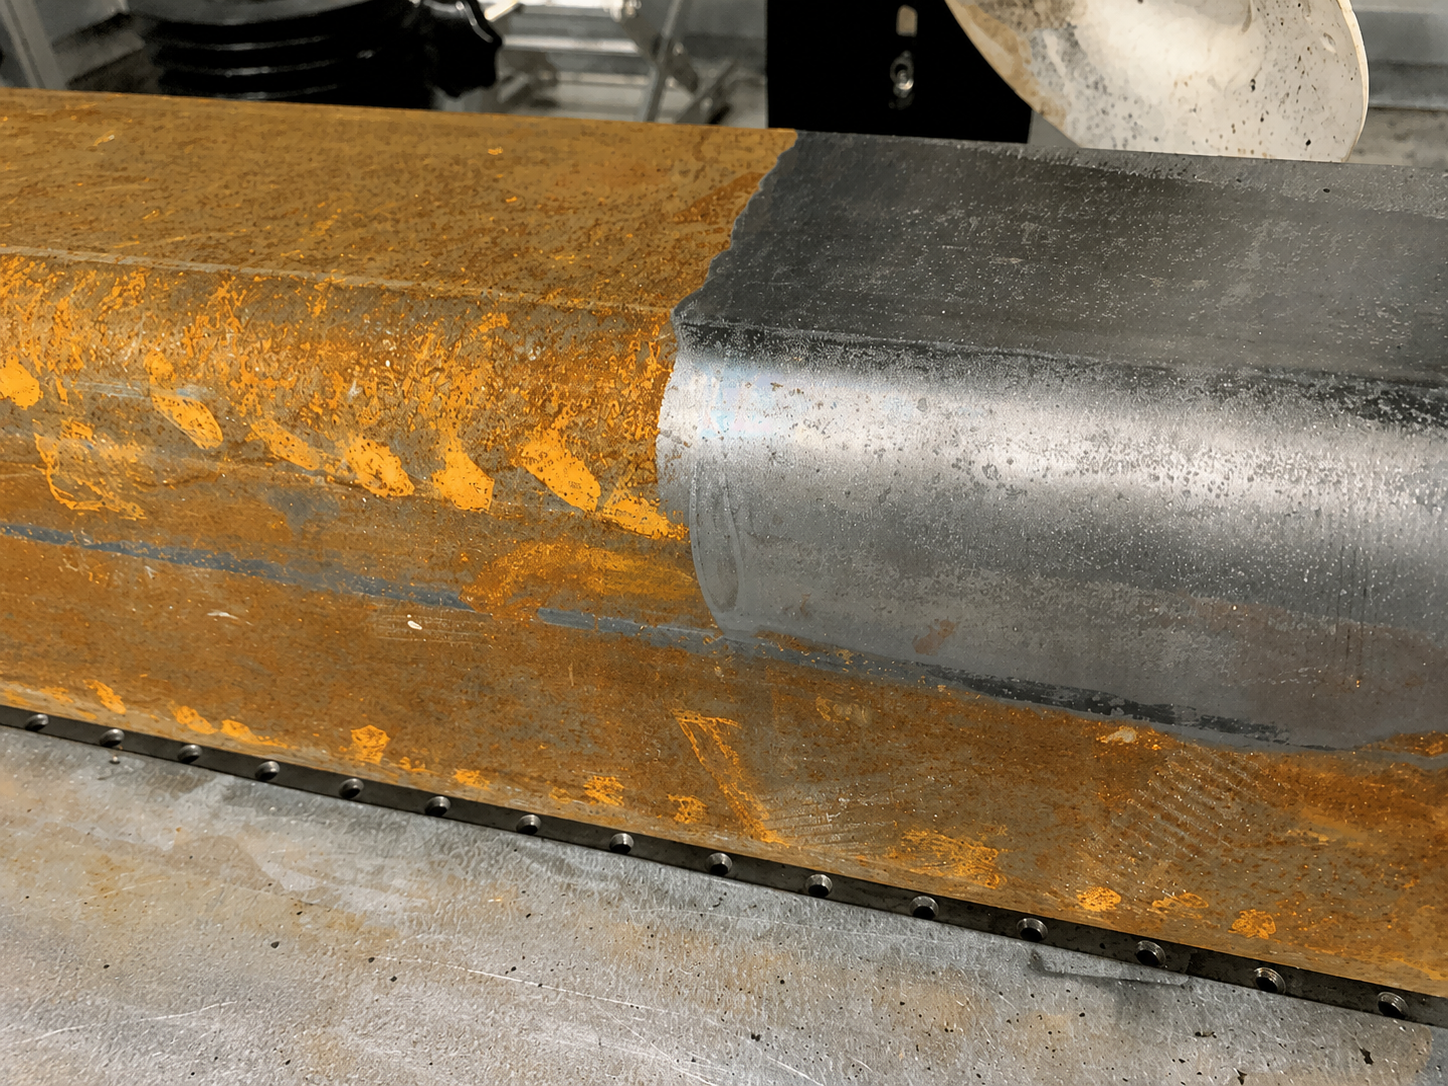
Removing the rust is only half of the job.
The exposed metal still needs to be prepared correctly before paint.
The original guide is right to emphasize that the transition between rust removal and priming is critical.
Once bare steel is exposed, moisture and contamination can begin affecting the surface again.
Remove Dust and Loose Residue
After sanding, wire brushing, grinding, blasting, or laser cleaning, remove all remaining dust and loose contamination.
Depending on the process, this may involve:
Vacuuming.
Clean compressed air where appropriate.
Wiping with a suitable cleaner.
Removing abrasive residue.
Removing captured laser-cleaning debris.
Following the chemical-remover manufacturer's rinse or neutralization instructions.
The final surface should be stable and free of loose material.
Degrease the Metal
Rust-free metal can still fail under paint if oil, wax, fingerprints, silicone, or grease remains on the surface.
Use a cleaner compatible with both the substrate and the coating system you plan to apply.
Pay particular attention to machinery and automotive parts because these surfaces often contain oil even when they look clean.
Make Sure the Surface Is Completely Dry
Do not trap moisture underneath primer.
This is especially important after:
Water-based cleaning.
Chemical rinsing.
Wet blasting.
Outdoor preparation.
High-humidity work.
Once the surface is clean and dry, avoid unnecessary handling with bare hands.
Prime Before Flash Rust Returns
Do not remove rust on Monday and plan to prime the metal several days later.
Bare steel can begin oxidizing again surprisingly quickly depending on humidity and environmental conditions.
The safest rule is:
Prepare the surface, clean it, dry it, and apply the specified primer as soon as practical within the coating manufacturer's recommended window.
Industrial coating specifications may have stricter requirements, especially after abrasive blasting.
Follow the technical data sheet for the actual primer being used rather than relying on a universal number of hours.
Choose the Right Primer
The primer needs to match:
The metal.
The environment.
The preparation method.
The final paint system.
Common options include corrosion-resistant metal primers, epoxy primers, zinc-rich systems, and other specialty coatings.
Do not assume that “metal primer” means the same thing for every application.
An indoor decorative steel table and an outdoor marine steel structure need very different protection systems.
Do a Final Surface Check Before Painting
Before primer goes on, ask:
Is all loose rust gone?
Is the remaining metal structurally sound?
Is the surface free of oil and dust?
Is it completely dry?
Does the surface profile meet the primer specification?
Is the selected primer compatible with the metal and topcoat?
If the answer to all six is yes, you are ready to paint.
Conclusion
The best way to remove rust before painting metal depends on how much corrosion you have and what condition the finished surface needs to be in.
For light rust, sanding or wire brushing is usually enough.
For moderate corrosion, powered abrasives or chemical treatment can save time.
Heavy rust on strong steel may require grinding or abrasive blasting, particularly when the coating system needs a defined surface profile.
And for professional or repeated applications where controlled removal and reduced abrasive contact matter, a laser rust removal machine can provide another effective approach.
Whichever method you choose, do not stop when the metal simply “looks clean.”
Remove unstable corrosion, eliminate dust and grease, allow the surface to dry completely, and apply the correct primer before new oxidation has time to develop.
Good paint adhesion starts before the paint can is opened.
Considering laser cleaning as part of your metal-preparation process?
Send LaserCleanerPro photos or samples of your metal parts, along with the substrate, rust severity, surface area, existing coating, and required finish. The engineering team can arrange an application test and help determine whether pulsed or continuous-wave laser cleaning is appropriate before painting—or whether another preparation method would better suit the job.